
I do have a sewing machine but I rarely use it. Most of the sewing I do is darning tears, re-sewing split seams, re-attaching buttons, etc.
But I have this crochet bag - worked from the pattern I have for sale in my Etsy shop.
I love the bag - the weight, size, colours, etc, but I don't use it. It flops about quite a lot and I always intended to line it. Well finally I got round to it!
I had chosen some gorgeous patchwork cotton to use months ago. I had matching thread, so here's how I did it.


I used this to cut my fabric.

I pinned, tacked, then seamed the sides to the base.
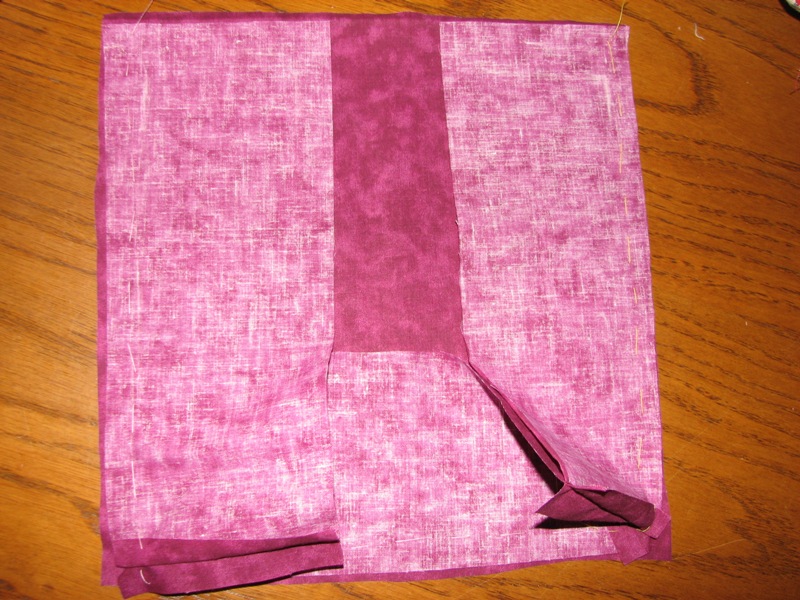
Then pinned, tacked & seamed the front to the sides & base, and repeated for the back.

The corners were tricky, and are not the neatest things in the world, but they're never going to be seen, so I figure there are worse things in life. :)
Then pinned, tacked & seamed the front to the sides & base, and repeated for the back.
The corners were tricky, and are not the neatest things in the world, but they're never going to be seen, so I figure there are worse things in life. :)

I put the liner inside the bag so I knew how far down to pin the top hem.

I sewed around the top, then hand-sewed the lining into the bag.
Done - easily, since I could manage it!

I sewed around the top, then hand-sewed the lining into the bag.
Done - easily, since I could manage it!

2 comments:
I think even this is too much for my minimal sewing skills but it's a great photo-rich tutorial for sure! And your end product looks great!
I love that bag!!! And such a great tutorial...thanks :) x
Post a Comment