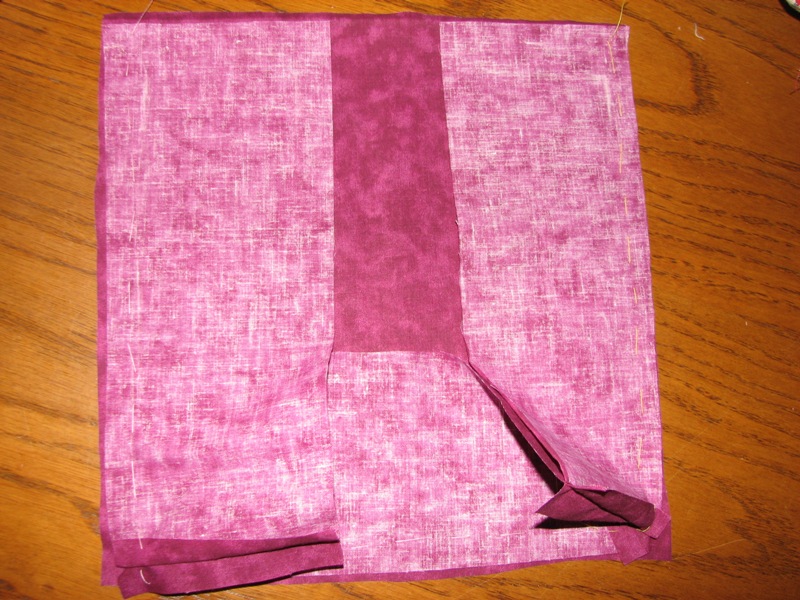
Oops, it's been a while! So what better way to break radio silence than to show you my contribution to the Great British Etsy Craft Party 2013 which is being held TODAY all over the UK.
I have done some patchwork quilting in my pre-blogging days, and still have a small stash of fabric left. There are some pieces that I just couldn't bear to give away!
For the bunting flags we needed red, white or blue fabric, so here's what I chose. My rotary cutter & mat still work well!
I literally dusted off my trusty Janome sewing machine and sewed up the sides of the 2 flags.
The fabric is a lovely tie-dye design but it has it's own mind when under the machine foot!
All finished, ends trimmed & poked through with a chopstick, as instructed!
I'm leaving them plain as I love the fabric design as it is, and some plain flags are needed anyway.
Now to find out where to send them on to for sewing into bunting!
Showing posts with label sewing. Show all posts
Thursday, 20 June 2013
Friday, 24 June 2011
Lining a bag - sewing for dummies!
I do have a sewing machine but I rarely use it. Most of the sewing I do is darning tears, re-sewing split seams, re-attaching buttons, etc.
But I have this crochet bag - worked from the pattern I have for sale in my Etsy shop.
I love the bag - the weight, size, colours, etc, but I don't use it. It flops about quite a lot and I always intended to line it. Well finally I got round to it!
I had chosen some gorgeous patchwork cotton to use months ago. I had matching thread, so here's how I did it.
First I made a couple of very rough paper templates from a sheet of paper from the recycling.
One template for the front/back, and one for the side/base.
I used this to cut my fabric.
One template for the front/back, and one for the side/base.
I used this to cut my fabric.
I pinned, tacked, then seamed the sides to the base.
Then pinned, tacked & seamed the front to the sides & base, and repeated for the back.
The corners were tricky, and are not the neatest things in the world, but they're never going to be seen, so I figure there are worse things in life. :)
Then pinned, tacked & seamed the front to the sides & base, and repeated for the back.
The corners were tricky, and are not the neatest things in the world, but they're never going to be seen, so I figure there are worse things in life. :)
I put the liner inside the bag so I knew how far down to pin the top hem.
I sewed around the top, then hand-sewed the lining into the bag.
Done - easily, since I could manage it!
I sewed around the top, then hand-sewed the lining into the bag.
Done - easily, since I could manage it!
Saturday, 14 August 2010
Dusting off the sewing machine
Quite literally. I hauled out my sewing machine from under the piles of yarn today and gave it a good clean before embarking on a mini project.
My daughters have both now got to the height where they no longer legally need car booster seats, but for my youngest the seat belt can be a little uncomfortable against her neck sometimes.
I looked around for seat belt pads but wasn't keen on any of the designs, so decided to make my own.
A short while later I have used up some leftover patchwork fabric, quilt wadding, and velcro, and we have the pads installed in the car.They can be taken off easily using the velcro strip fastener and machine washed when they get grubby.
Very comfy they are too. :)
Friday, 26 March 2010
Sew pleased!
It was very tatty but useable, so I just cut a piece of fabric and glued it to the top of the cushion to make do. That's what you see here.
When the glue finally gave up last week, we decided it was time to mend it properly!
DD chose some lovely bright cotton fabric from my stash and I bought matching purple bias binding from my local fabric shop for 25p.
The lovely lady there very kindly gave me an offcut of thick interlining to cover up the worst of the torn cushion underneath, and give it a plusher feel.
I've worked on this every time I had a few minutes spare this week, and today dusted off (literally!) my trusty sewing machine for the final part.
Tada! Here it is - beautiful.
Youngest DD loves it and now eldest DD wishes she still needed to use one!
Subscribe to:
Posts (Atom)